Are you ready to elevate your walls from plain to stunning with some creative textures? Textured walls add depth and interest to any room, making it unique and stylish. This DIY guide will walk you through the process of creating textures in your painting project. Let’s dive in!
Materials You’ll Need:
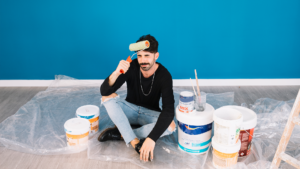
Before you start, gather all the necessary materials. Here’s what you’ll need:
- Paint
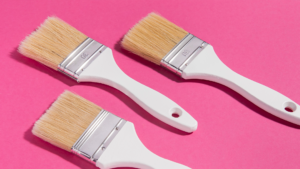
- Brushes
- Rollers
- Painter’s tape
- Drop cloths
- Texture tools (sponges, rags, combs)
- Paint tray
Step 1: Prepare the Room
Preparation is key to achieving a professional-looking finish. Start by moving the furniture to the center of the room and covering it with drop cloths. This will protect your furniture from paint splatters and drips. Next, use painter’s tape to protect edges and trim. Apply the tape carefully to ensure clean lines and prevent paint from getting onto surfaces you want to keep paint-free.
Step 2: Apply a Base Coat
Once your room is prepped, it’s time to apply a base coat of paint. Choose a color that will serve as the foundation for your textured finish. Use a roller to apply the paint evenly across the walls. Allow the base coat to dry completely before moving on to the next step. This will ensure that the texture you create adheres properly to the surface.
Step 3: Create Texture
Now comes the fun part – creating the texture! There are several techniques you can use to achieve different textured effects. Here are a few options:
- Sponge Texture: Dabbing a sponge into the paint and gently pressing it onto the wall creates a soft, mottled effect. This technique adds a subtle texture that works well in any room.
- Ragging: For a more dramatic look, use a rag to create a ragging effect. Dip the rag into the paint and twist it slightly as you press it against the wall. This technique creates a rich, textured pattern that adds depth to your walls.
- Combing: To create a striated pattern, use a comb to drag through the wet paint. This technique works well for creating a more structured texture that can mimic the look of wallpaper.
Step 4: Blend and Smooth
After creating your desired texture, you may need to blend and smooth it for a more polished finish. Use a clean brush or roller to gently blend the textures, ensuring a seamless look. Be careful not to over-blend, as this can reduce the textural effect you’ve created.
Step 5: Final Touches and Clean-Up
With your texture complete, it’s time to add any final touches. Allow the paint to dry fully, then carefully remove the painter’s tape. Clean your brushes and rollers thoroughly, and roll up the drop cloths. Make sure to dispose of or store any leftover materials properly.
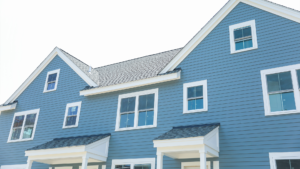
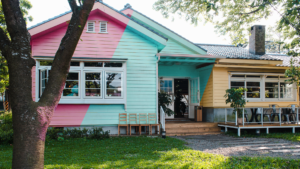
Enjoy Your Textured Walls!
Step back and admire your work! Your newly textured walls are sure to add a unique and stylish element to your space. Textured painting is a great way to personalize your home and showcase your creativity.
For more DIY tips and tricks, be sure to like and subscribe to 5W Construction. Happy painting!