Welcome to our comprehensive DIY guide on painting a room! Whether you’re a novice or seasoned DIY enthusiast, follow these steps to achieve a professional finish and transform your space.
Step 1: Gathering Materials
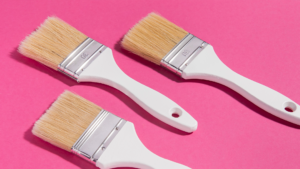
Before you begin, gather your materials:
- Paint in your chosen color
- Brushes and rollers
- Painter’s tape
- Drop cloths
- Paint tray
These essentials ensure you have everything at hand for a successful painting project.
Step 2: Preparing the Room
Prepare your workspace:
- Move furniture to the center and cover it with drop cloths to protect from paint splatters.
- Use painter’s tape to carefully mask edges, trim, and fixtures to maintain clean lines.
Step 3: Cutting In
Start with cutting in:
- Use a brush to paint along edges, corners, and areas where rollers can’t reach. This technique ensures precision and prevents paint from spreading onto unwanted surfaces.
Step 4: Rolling the Paint
Time to roll the paint:
- Pour your paint into the tray and load your roller evenly.
- Apply the paint in a ‘W’ pattern to ensure even coverage across the walls. Work systematically from top to bottom and left to right.
Step 5: Applying a Second Coat
For a flawless finish:
- Allow the first coat to dry completely.
- Apply a second coat using the same technique to achieve depth and uniform color.
Step 6: Clean Up
Wrap up with clean up:
- Remove painter’s tape carefully while the paint is still slightly tacky to avoid peeling.
- Clean your brushes and rollers thoroughly with water or appropriate solvents.
- Roll up drop cloths and dispose of any waste responsibly.
Enjoy Your New Room!
Admire your freshly painted room and bask in the satisfaction of a job well done! For more DIY tips and inspiration, stay tuned to 5W Construction. Subscribe for updates and share your painting projects with us!
Ready to transform your space? Contact us today for expert advice and quality paint products.